
3D FILAMENT Dry Box
Why design my own 3D filament drybox when there are already so many different ones out there? Well, I found plans that solved maybe one or two of my problems and have seen many options with features I wasn’t interested in, but I simply couldn’t find a design with all the features I wanted all together in one plan. This design addresses five of the major issues I’ve come across and has made print fails because of filament snafus a thing of the past.
Desired Features
#1 Hold a 70mm spool and under
Filament spools come in all sorts of different widths but most of the normal ones can be up to 70mm. There are a couple of different designs I saw that could only accommodate up to a 66mm spool, so I wanted something wider.
#2 Keep it clean and Protected
Sometimes I don’t use a certain filament for a long time and it can get dirty or broken if it is just kicking around. I wanted a container to keep it in.
#3 Control Humidity
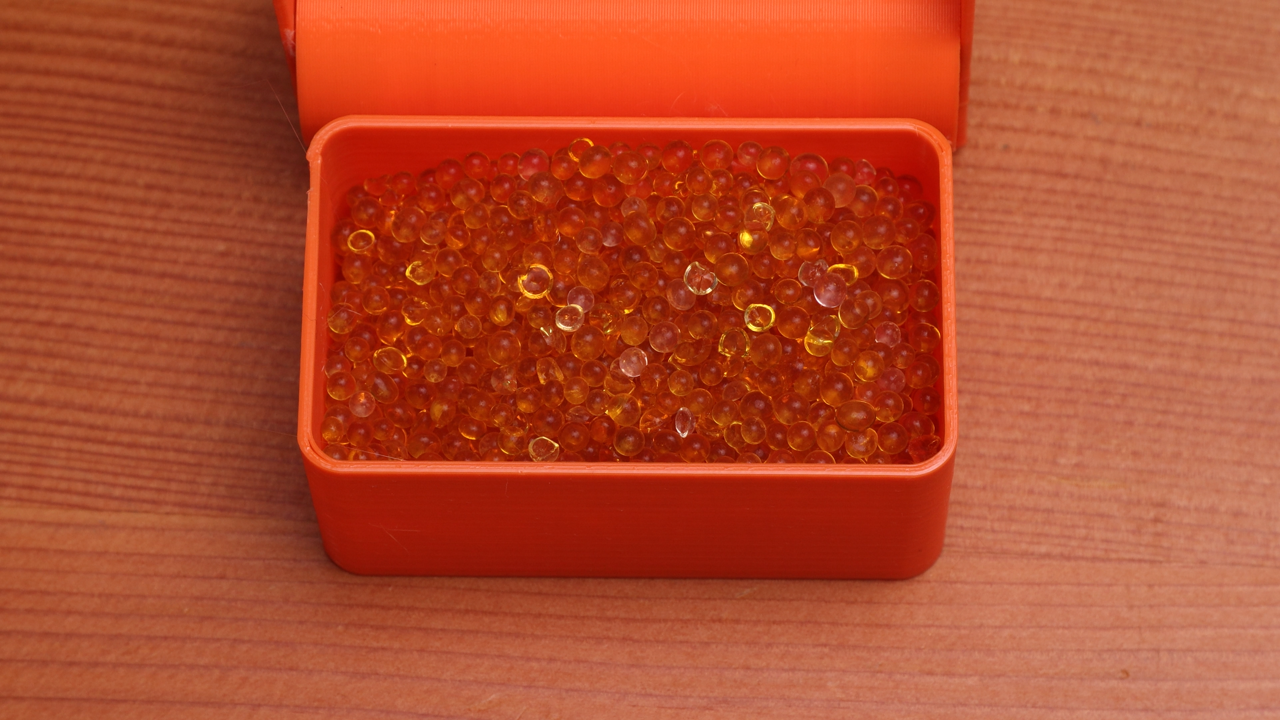
Some of the materials like TPU (thermoplastic polyurethane) or nylon really like to absorb moisture. Even PLA given enough time will get brittle and can have printing issues. I wanted a container that is airtight with some desiccant in order to keep the humidity down.
#4 Agnostic to flange size
Filament holders can have all sorts of different flange sizes. I wanted to not have to care about that. I also wanted the feed to be as smooth as possible. I really like bottom rollers that use bearings for providing smooth rolling, and since it runs on the speel, the flange size doesn’t matter.
#5 Stability
I have had issues with my rolls tipping over or falling off their holders, so I wanted to minimize this as much as possible.
Parts Needed
Parts are for 6 complete boxes
4L Cereal Containers x6 (make sure they have three small grooves on the side, not one big one)
608 Bearings x24 (if you want just 30 you can save some money here)
Light Oil (sewing machine oil, 3 in 1, or skateboard lube all work fine)
Desiccant (I like the type you can heat up and reuse)
PTFE Tube 2.00mm (length will depend on what you want, I like about 500mm each)
Printed Base, Desiccant Lid, 2 rollers
Optional: Temperature and Humidity Monitors
Additional Tools
8.5mm or 11/32” drill bit
10mm wrench or socket
3d printer (if you don’t have one, then there’s no time like the present)
Printing the Parts
When you are printing the parts, the base and desiccant lid don’t need any support, but the rollers do. In your slicer, change your support pattern to concentric supports. They print great, hardly take up any extra time, and come off very easily.

These pieces were designed to be printed most efficient at .3mm layer height with either a .4mm or .6mm nozzle and max infill (or no infill, since everything is solid).

Cleaning up Bearings
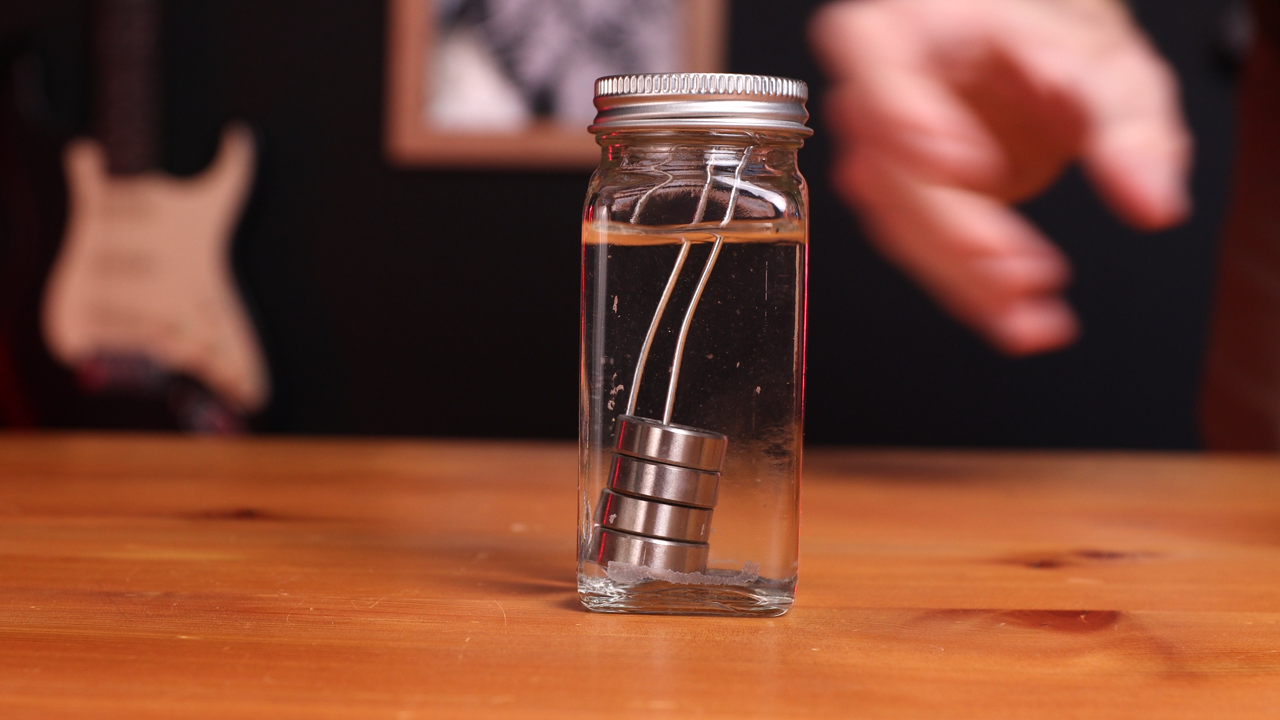
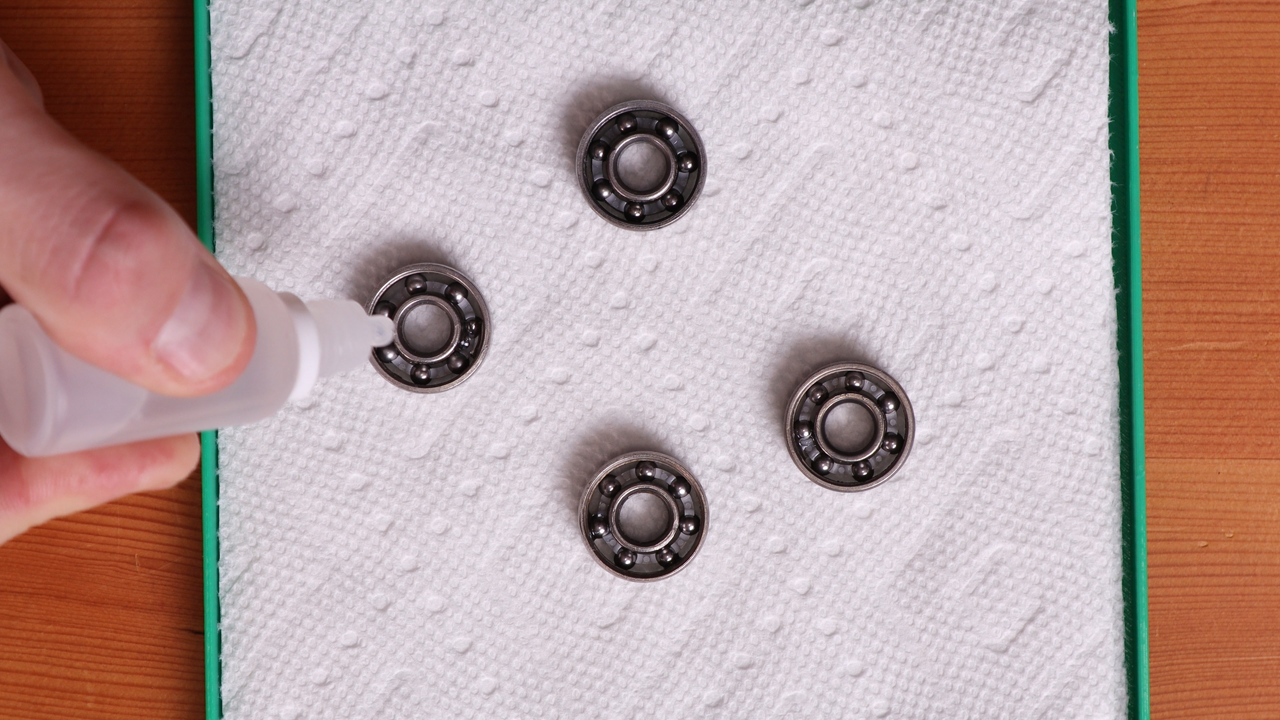
The 608 skate bearings can be a little gummy if you are like me and buy the cheap ones. You can clean those up pretty simply by using some mineral spirits, turpentine, acetone, etc. I know that people suggest using just alcohol to help avoid rusting, but I find it doesn’t cut the grease very well and takes a long time, plus you are going to oil them up again afterwards anyways. This is about as low stress on bearings as I can imagine.
After soaking the bearings you need to dry them off. Using compressed air is good, but you can also just let them sit for an hour or so. After they are dry, put a little bit of oil on the bearings and spin them around to work it in. This helps the cheap bearings run better, and they will be in a humidity controlled environment, so rusting shouldn’t be an issue.
the Roller Assembly
Put your bearings in both sides of the rollers and then place them into the roller base. In order to allow 70mm wide spools to fit, I had to go a little skimpy in the filament used on the sides, so you need to be a bit gentle as you fit the rollers in. Fill the desiccant box up and put the lid on, and finally snap in the humidity and temperature sensor. I love data and the sensor helps me see if I accidently didn’t put the lid on tight or need to change out the desiccant.


Prepare the Cereal Container
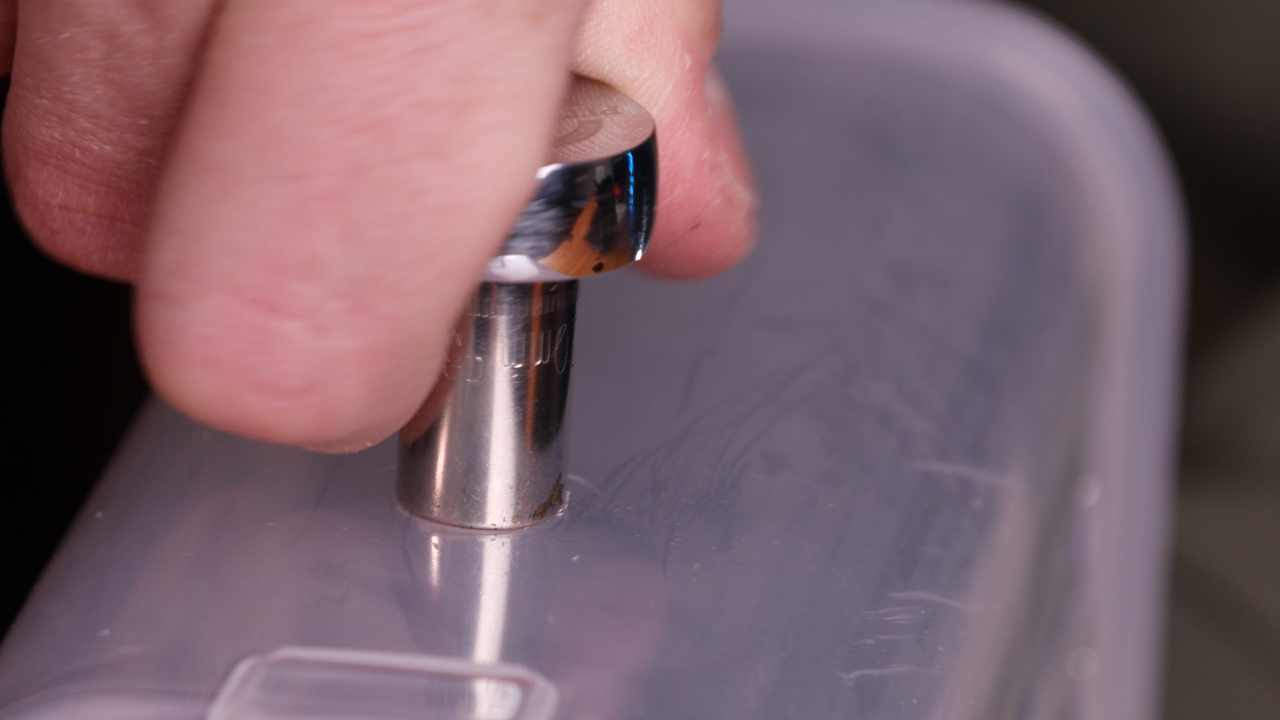
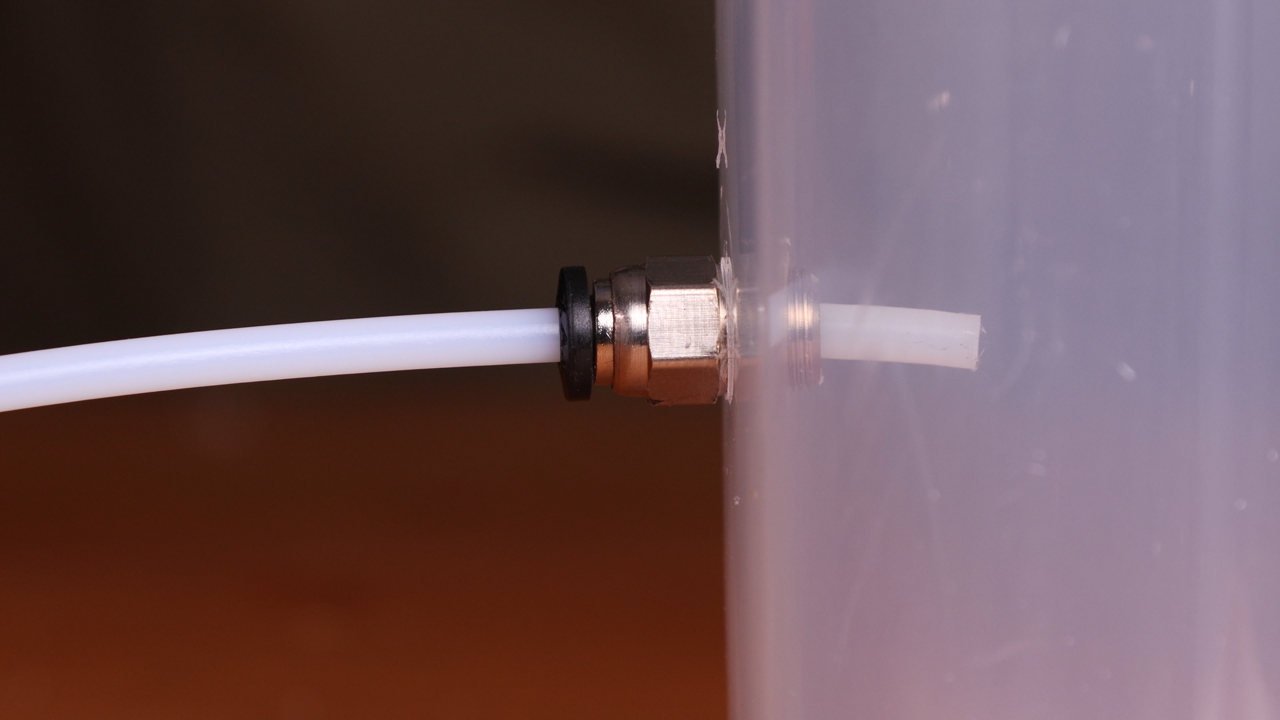
You need to drill a hole for the PTFE tube adaptor in the cereal container. Make sure you drill the hole in the front of the cereal container. It only goes in one way, so you may want to set the assembly in just to make sure you are facing correctly. Use your 8.5mm or 11/32” drill bit and drill a hole in the front of the cereal container about 50mm or 2” up from the bottom. Putting the hole towards the bottom of the container makes it more stable. With the hole drilled, if you have a 10mm tap you can use that to make threads, but you can also just use the actual PTFE adaptor to cut the threads into the plastic.
With the PTFE adaptor inserted into the cereal container, you can put in whatever length of PTFE tubing you would like for your setup. I like around 500mm.

Assemble the Dry box
You are now ready to put the roller assembly into the container. The desiccant box sits in the back and the monitor goes in the front facing the PTFE tubing. You can feed your filament into the tubing and then set it down on the rollers. Snap the lid on and you are good to go!
I hope these dry boxes work as well for you as they have for me. Leave a comment below letting me know how it’s working for you, or if you have any suggestions to make it even better. Also, be sure to show off your dry box on instagram and tag me @builditmakeit.

Why no Heating?
I didn’t include a heating device in this drybox because I generally only heat nylon. I do have an article all about printing with nylon filaments you can check out: