3 Ways to Make Ice Cream with Liquid Nitrogen
Why Use Liquid Nitrogen?
Using liquid nitrogen to make ice cream isn’t just a flex that you have a dewar. There are three main culinary benefits when using it at home.
First, it is faster. The rock salt and ice churner that we used growing up took around an hour to make ice cream. That is just too long when you need your ice cream fix fast! We currently have a Cuisinart ICE-40 ice cream maker (https://amzn.to/35YyVJK) and while it is a lot faster than the old rock salt churner, it still takes about 25 minutes, which is just not fast enough! (That said, if you can’t get liquid nitrogen, this is a really nice ice cream maker. It can make two quarts at a time, and we’ve been using it for over a decade.)
Second, because it freezes SOOO much faster, it develops fewer and smaller ice crystals. Smaller ice crystals equals smoother ice cream.
Third, you can make as much ice cream as you want. The Cuisinart ICE-40 can make one batch and then the bowls have to fully freeze up again before you can churn more. With liquid nitrogen, you can make batch after batch.
All in all, more ice cream, faster, and smoother to boot! Win-win-win!
Recipes
I have a separate page with a my favorite ice cream base recipes over in the melange section: Ice Cream Recipes
Method #1 - Churned
EQUIPMENT
Liquid Nitrogen (my dewar: https://amzn.to/3KQe7Dh)
Stand Mixer: https://amzn.to/3DVeWbl
Flex Beater (optional): https://amzn.to/3JngXOs
Instructions
The only tool you are going to need for the first way of making ice cream with liquid nitrogen is a stand mixer. I recommend using a flex edge paddle if you have it, but a normal mixing paddle works fine too.
Ingredients:
Use the Soft Serve or the Custard base recipe, or your own favorite ice cream base. I recommend doing 1 liter or 1 quart batches at a time, until you get the hang of it. These smaller batches also freeze faster and are creamier than a larger batch.
Pro Tip: Chill your ice cream base. The colder it is, the less liquid nitrogen you’ll need. You can put it in an ice bath if you want to get it extra cold, but I find back of the fridge cold is sufficient.
2-3 times your ice cream base in liquid nitrogen
Steps:
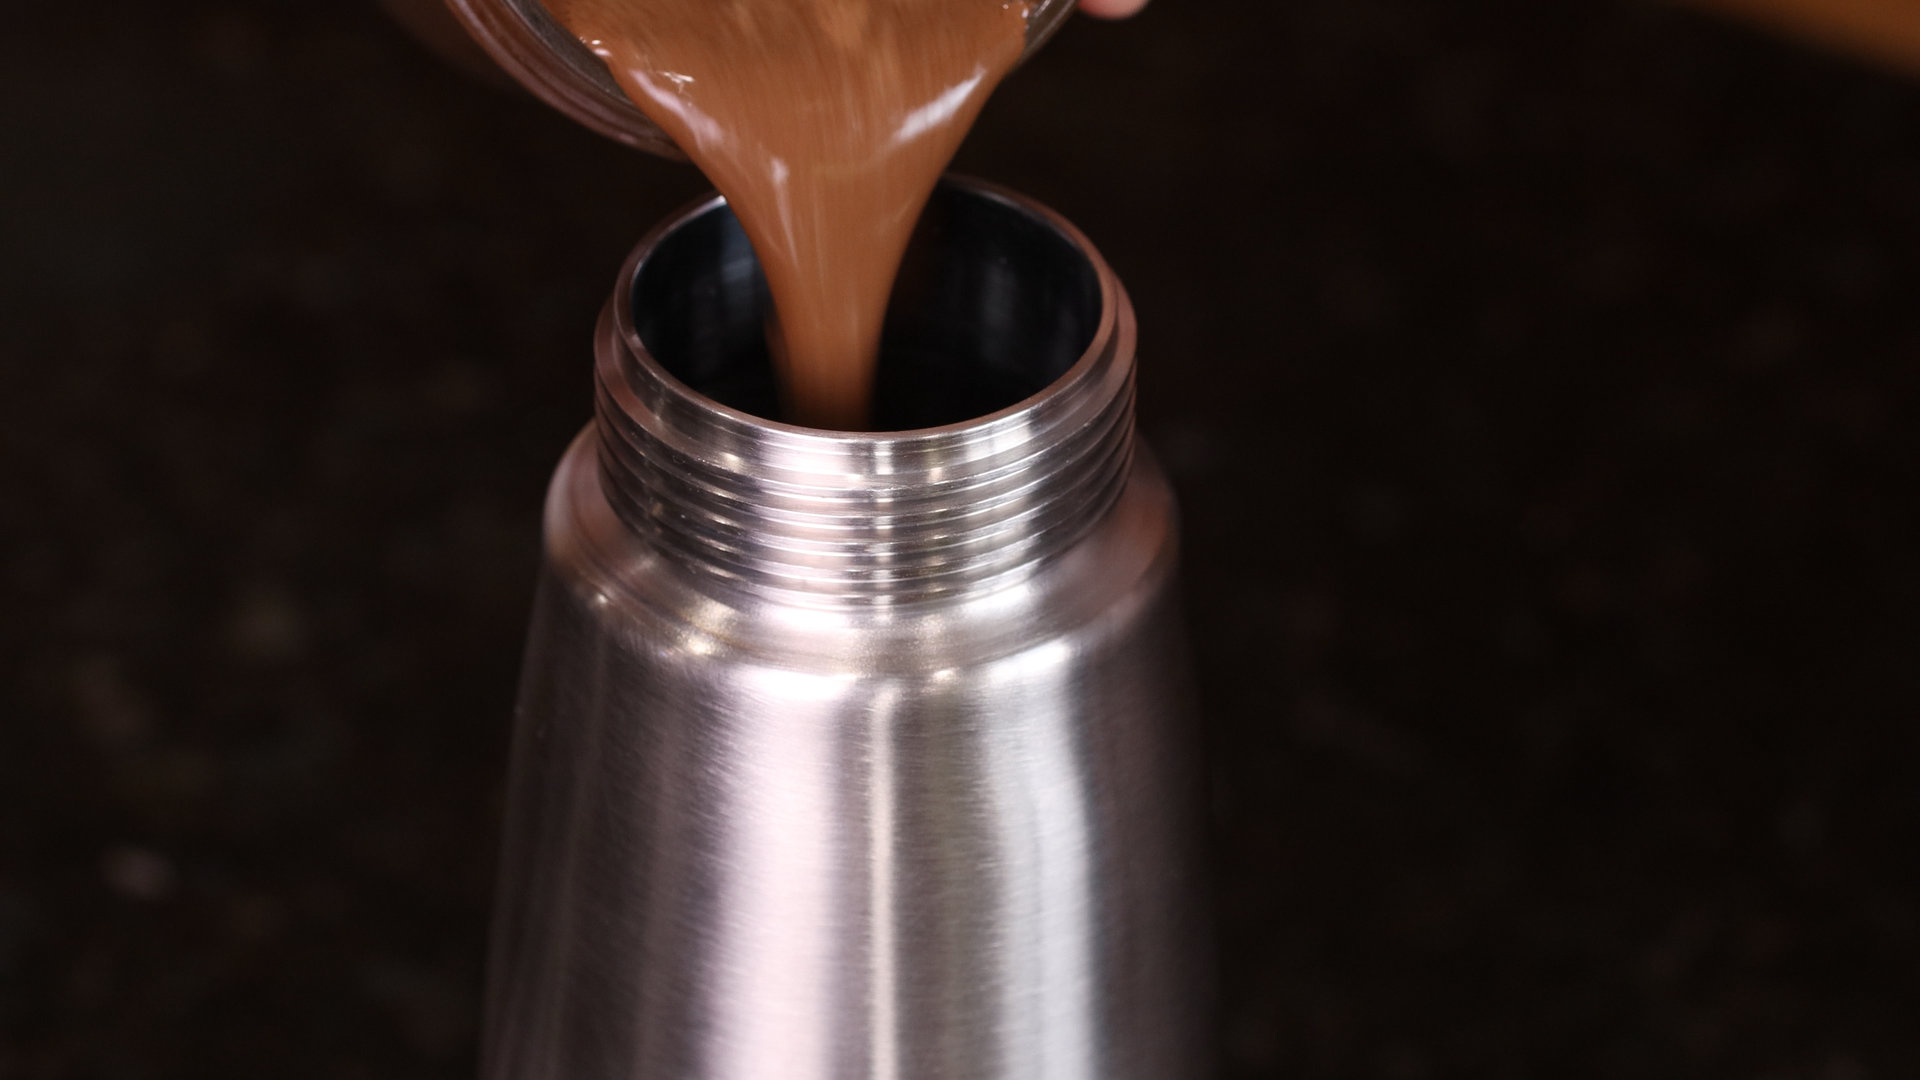
Pour your ice cream base of choice into the stand mixer bowl with a paddle attachment installed. Churn on medium speed so it doesn’t get too frothy.
With the paddle running, pour liquid nitrogen into the ice cream nice and slowly. Just a drizzle. If you pour too fast, your ice cream will freeze in clumps and won’t be as smooth.
Stop and check every 30 seconds or so to see if the ice cream is hardening up evenly. If not you are pouring the liquid nitrogen too fast.
If ice cream is freezing up extra hard on the sides, stop the mixer and scrape the edges with a spoon.
Add the liquid nitrogen until your ice cream reaches your desired consistency.


Method #2 - DIPPIN’ Dots
Equipment
Liquid Nitrogen
Metal Bowl (optional liquid nitrogen bowl: https://amzn.to/3xhAhdI)
Dropper Bottles: https://amzn.to/3DUPanE
Optional Food Coloring: https://amzn.to/3JxBVuo
Instructions
The only tool you are going to need is a bowl and something to make drops of ice cream with.
Ingredients:
Use the soft serve recipe, or your own favorite for the ice cream base. I recommend a thinner recipe like a soft serve.
Pro Tip: Chill your ice cream base. The colder it is, the less liquid nitrogen you’ll need. You can put it in an ice bath if you want to get it extra cold, but I find back of the fridge cold is sufficient.
2-3 times your ice cream base in liquid nitrogen
Steps:
Pour your ice cream base of choice into the condiment or dropper bottles. Add a couple of drops of food coloring to make your ice cream even more exciting!
Pour about 3 times your ice cream base of liquid nitrogen in a round sided bowl.
One drop at a time, let the ice cream base fall into the bowl of liquid nitrogen. Try and have them fall to the side and not directly above the other balls of ice cream. This will help the balls not stick together.
Pour off the excess liquid nitrogen into another container and the ice cream is done.
NOTE: These ice cream balls will be extremely cold, so it’s a good idea to let them warm up a bit before eating it or they can “burn” your mouth.


Method #3 - Root Beer Float of the Future
Equipment
Liquid Nitrogen
Metal Bowl (optional liquid nitrogen bowl: https://amzn.to/3xhAhdI)
Whipped Cream Dispenser (siphon): https://amzn.to/37xcLOU
CO2 Cartridges: https://amzn.to/36Z9tEx
Using a whipped cream dispenser (siphon) we are going to infuse a root beer syrup and whipped cream base with CO2 and then freeze it quickly with liquid nitrogen. This one is a little more ice cream adjacent, but is super popular in my house.
Instructions
Ingredients:
Use the recipe for root beer float syrup. This works well with most syrup recipes mixed with cream. I personally like a 2:1 ratio of syrup to cream.
2-3 CO2 Cartridges
Steps:
Pour root beer float syrup (or any flavored syrup at a 2:1 ratio with cream) into your siphon and seal it up.
Add a CO2 Cartridge to the siphon and with the siphon standing upright let out the pressure. This will help purge the oxygen and nitrogen from the system to get more C02 into your mixture.
If you are using a 500ml/1 pint syphon, add an additional CO2 cartridge. If you have a 1L/1 quart syphon then add two additional cartridges.
Gently shake the siphon for 15 seconds or so to help infuse the syrup with CO2 and then place it in the fridge or in an ice bath.
You can make this a couple hours ahead to help it infuse the CO2 if you want it more bubbly, or you can use it after about 15 min in the bath.
Pour some liquid nitrogen in a metal bowl, or bowl dewar, and let it finish boiling. Chill a metal spoon in the liquid nitrogen.
With the siphon upside down, spray a bite size dollop onto the frozen spoon and then dip it into the liquid nitrogen. The dollop will release from the spoon and float to the top of the nitrogen. Flip the dollop around so each side gets between 4-6 seconds submerged in the liquid nitrogen. The outside should be fully frozen and the inside still soft.
Eat in one bite!
WARNING: If the ice cream develops cracks it can get liquid nitrogen inside. This is dangerous and you shouldn’t eat it. Pay attention to any that are cracked or feel heavy. Set aside in the freezer and eat later after the nitrogen has had a chance to boil off.