
Easy Homemade DIY Archery Target From Foam Board and Scrap
This target has no metal or wood, is repairable, easy to pull out arrows, and is a super easy build. I took everything I have learned from my previous 4 DIY target builds, and my commercial targets and put them together into this build. It is super simple to make and when the target face gets chewed up over time you can simply cut another one and attach it, or fix it with a little bit of spray foam insulation.
MATERIALS:
4’x8’ 2” Thick Foam Board
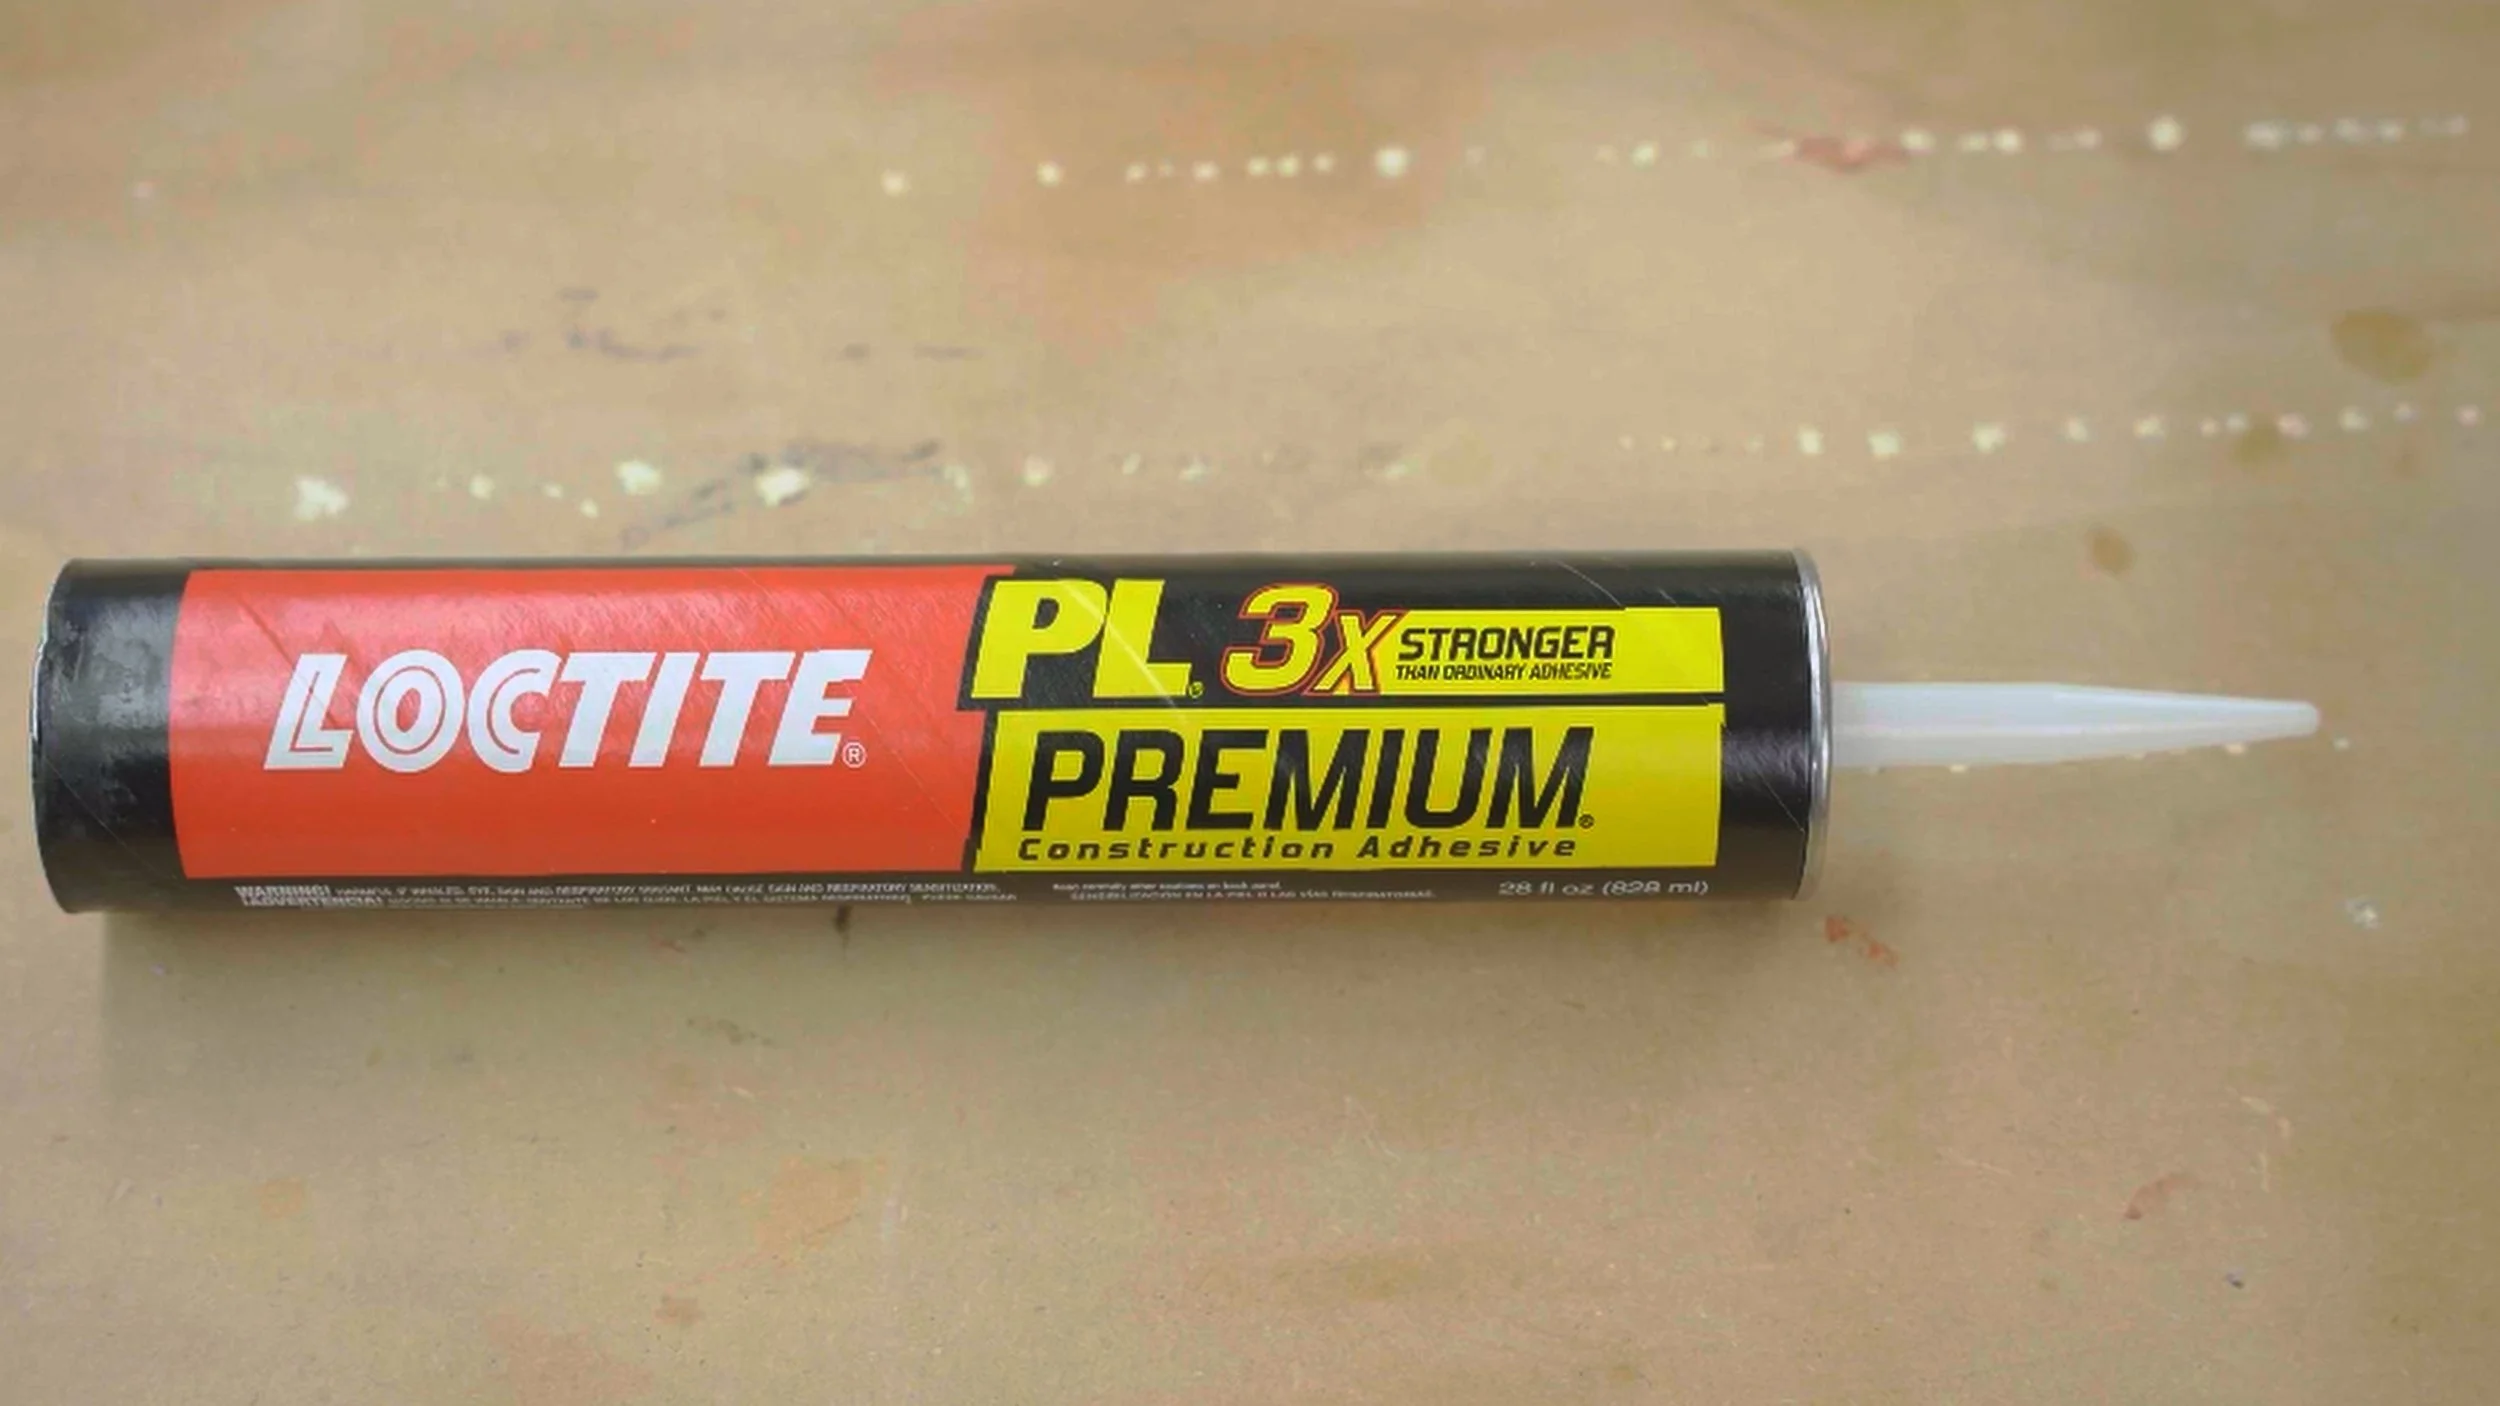
Construction Adhesive: https://amzn.to/3wmwkCV
Scrap Plastic or Fabric
OPTIONAL:
String: https://amzn.to/3QY96ww
3D Printed Screws: https://www.printables.com/model/375440-giant-screw-for-foam-board-insulation
Paper Targets: https://amzn.to/3GVer2Q
80 cm Reusable Target: https://amzn.to/3iPiuG7
Target Face Pins: https://amzn.to/3XszYqy
Instructions
Cutting Foam Board
Using either a utility knife, circular saw, or table saw (table saw is the easiest), from the foam board you need to cut 4 pieces that are 14” x 32”and two that are 34” by 34”. The best way to get these out is to cut a single strip from the board on the long edge 14” wide. Then cut that into 3, 32” long pieces. From the remaining board cut two 34” x 34” inch squares. The remailing offcut will yield the final 14” x 32” piece. Cut all the rest of the foam board into strips 2” x 2”. These can be used to reinforce the box later.


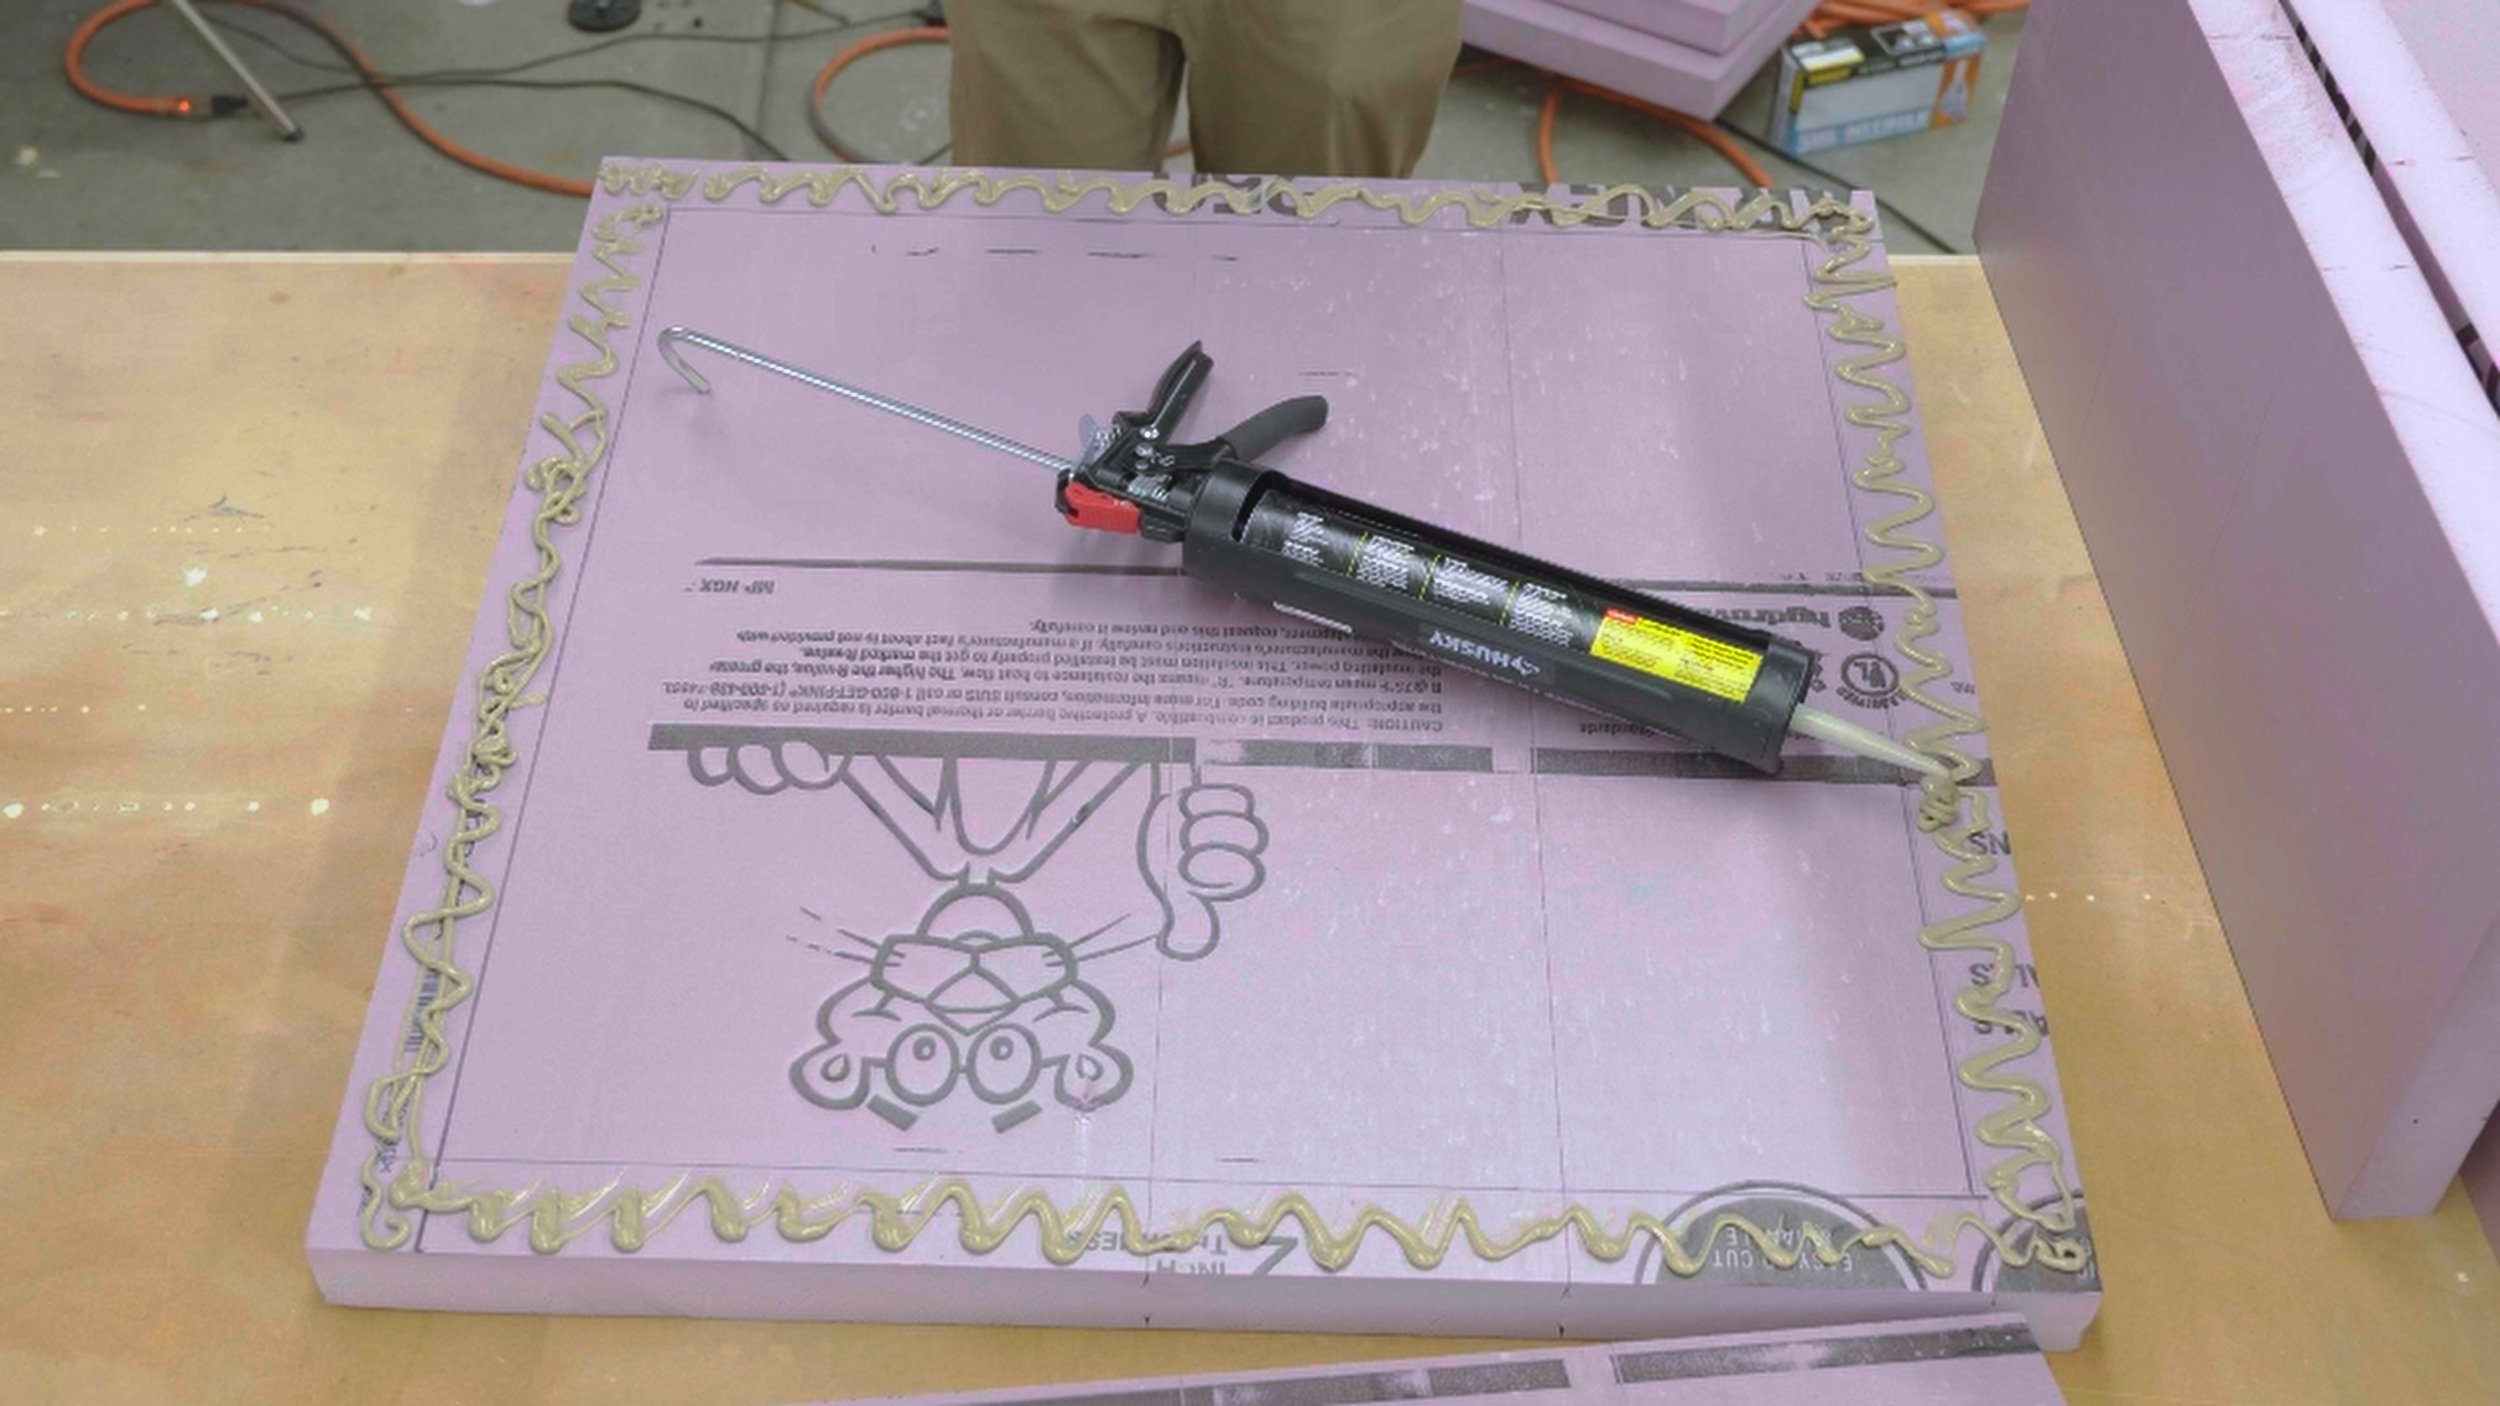
Glue Foam Board
Using the construction adhesive glue the side 14” x 32” foam board to one of the 34” x 34” squares. This square will be the back of the target. Make sure to glue the sides to both the back and each other. If you use too much construction adhesive then it is hard to get the parts to hold together without sliding around a bunch. If this happens you can use some string to hold everything in place as the construction adhesive dries. Make sure the adhesive says it works for foam board. I used PL Premium but any adhesive for foam board should work. After the box is together use the 2” x 2” block to reinforce the corners on the back side and on the sides of the box to give it some extra strength.


Fill with Scrap
After letting the box dry at least for 8 hours fill it with either scrap plastic or scrap fabric. Scrap plastic like grocery bags or plastic sheeting are commonly found. I have been able to find large quantities of grocery bags at the recycling drop-offs by asking people for them. Plastic is good because it is lighter weight and has good stopping power. The downside is after compacting it a lot the arrows are a bit harder to pull out. My favorite is fabric too fill the target with. This is my second fabric archery target and while fabric is heavier the arrows release very easy with a simple two finger pull out even from heavy crossbows. Scrap t shirts are fantastic, as are any clothes. Make sure there is no metal or plastic like zippers and buttons. A good source of scrap clothes is local thrift stores. They can’t accept things if the quality is too low and you should be able to get them out of the trash. Also if you have quilter friends (or a wife in my case) quilt fabric scraps are fantastic.
When filling the box try and compact your material as tight as possible without breaking the box. I stepped on mine to get everything compact. Fill the box around 1 inch above the top so that putting on the cover will compact it.


Target Face
To attach the last 34” x 34” target face to the box there are three ways that I think will work well.
First you can glue the face on. This will be the most secure and gives a pretty water tight seal if it is outside a lot. The downside is it is permanent and as the face gets chewed up over time you will need to use spray foam insulation to strengthen it up, or attach a another face over the old face.
Second use some string to wrap around the four edges of the foam board to hold the face on. This is nice because the string digs into the foam insulation and holds the face on nice and tight across the whole side.
Third I designed a 3D printed screw that you can drill through the target face and then screw into the foam board beneath. This is nice because it is really easy to attach and remove and for me it has been holding very stable. By using three per side (12 in total) the center is held nice and tight which the string has a little bit of trouble with. They can be put in by hand or by using a 10mm hex. You can download the files here if you want to print them.


Finished Target
With the face attached you can start shooting at it. The material (particularly fabric) will settle over time, so if the face is removable you can add more fabric after a week or two of shooting. If an arrow comes through the back, open up the target and recompact the material in that area. Paper targets stick to the target really well so make sure to move around where you are shooing and the material will shift based on that and you shouldn’t get hollow spots.
